
Decentralization is now an vital a part of our each day lives, whether or not we notice it or not. We see it in finance, the humanities, knowledge possession, and quite a lot of different areas.
Token swapping is an important side of finance, significantly decentralized finance. You’ve got come to the best place if you wish to be taught extra about tokens, token swapping and the way it works.
This text will go over the basics of tokens and token swaps. Lastly, we’ll use React and the Moralis to create our token swapping dApp.
What’s a token?
Crypto tokens are a type of cryptocurrency that symbolizes an merchandise or a particular use and has its personal blockchain. Tokens can be utilized to make investments, retailer worth, or make purchases.
Some widespread tokens are:
- Tether USD (USDT)
- Litecoin
- Auroracoin
- Dogecoin
- Peercoin
- Namecoin
What’s token swapping?
Token swapping is the change of 1 token for an additional on a special blockchain protocol in actual time.
Token swapping, because the identify implies, includes swapping two tokens. Assume you’ve token A however choose token B. So, on a swapping platform, you’ll pay an agreed quantity of token A to a different individual and obtain an agreed quantity of token B in return.
Swapping has a major benefit in that there isn’t any want to make use of a fiat foreign money in the course of the swapping course of, and it’s a easy and fast.
What’s Moralis?
Moralis is a platform that gives instruments and companies that make it very simple to create, enhance, and keep dApps. Moralis-based Dapps are cross-platform by default, and may run on Ethereum, Polygon, Solana, Elrond, and BSC, with many extra supported chains on the best way.

Moralis handles the heavy lifting and simplifies the dApp growth course of by performing all background work that may be known as by the developer with just a few traces of code. They’ve SDKs for:
- React
- Vanilla JavaScript
- Unity
- Node.js
One benefit of Moralis is that it contains boilerplate code for React Native and Unity initiatives, in addition to boilerplate code for NFT marketplaces. It basically reduces the developer’s stress
Let’s begin constructing.
Earlier than we get into the code, we’d like to enroll in Moralis. To try this, open your browser and navigate to the Moralis signup page to create a brand new account or log in in the event you’ve already signed up.

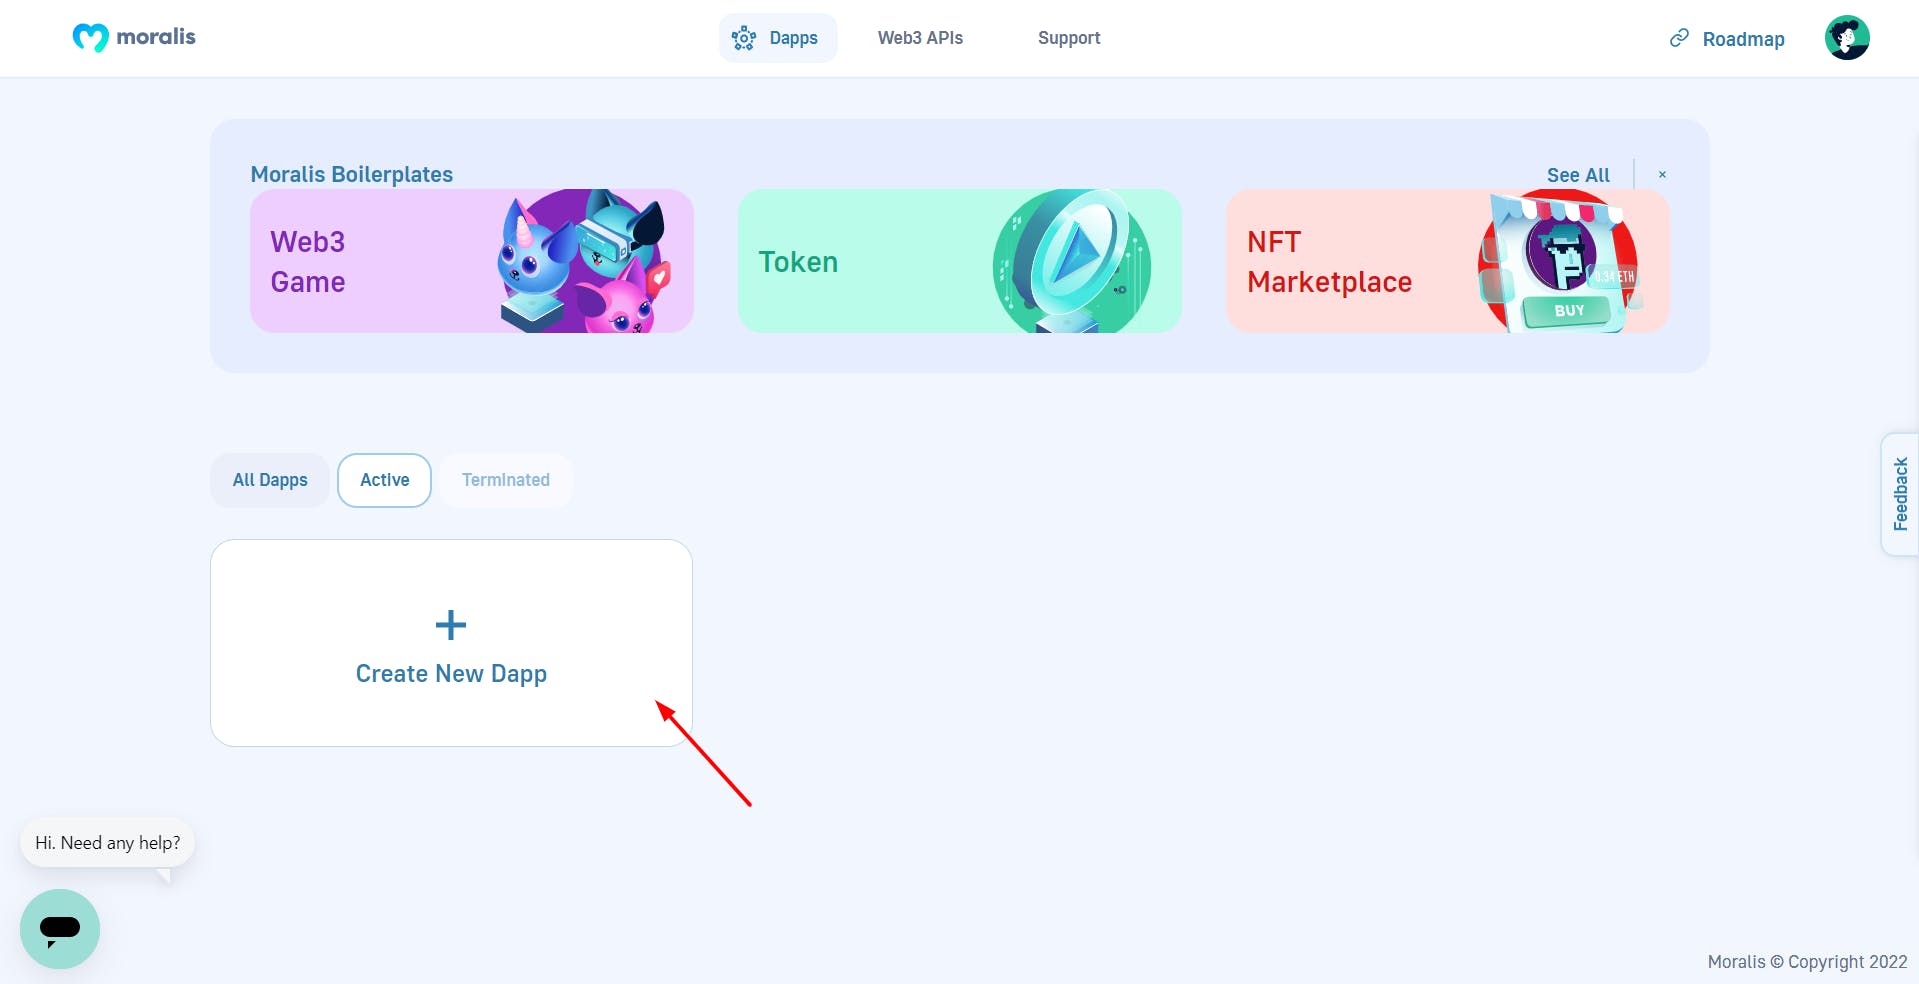
After logging in, try to be offered with an admin dashboard. You may create new dApps on this web page, view energetic and terminated dApps and hyperlinks to boilerplates for growing video games, tokens, and NFT marketplaces.
Subsequent, we select an surroundings and community on which our dApp will run. As a result of this can be a check, we’ll choose testnet as our surroundings. And for our community, we’ll go along with Ether Rinkeby.
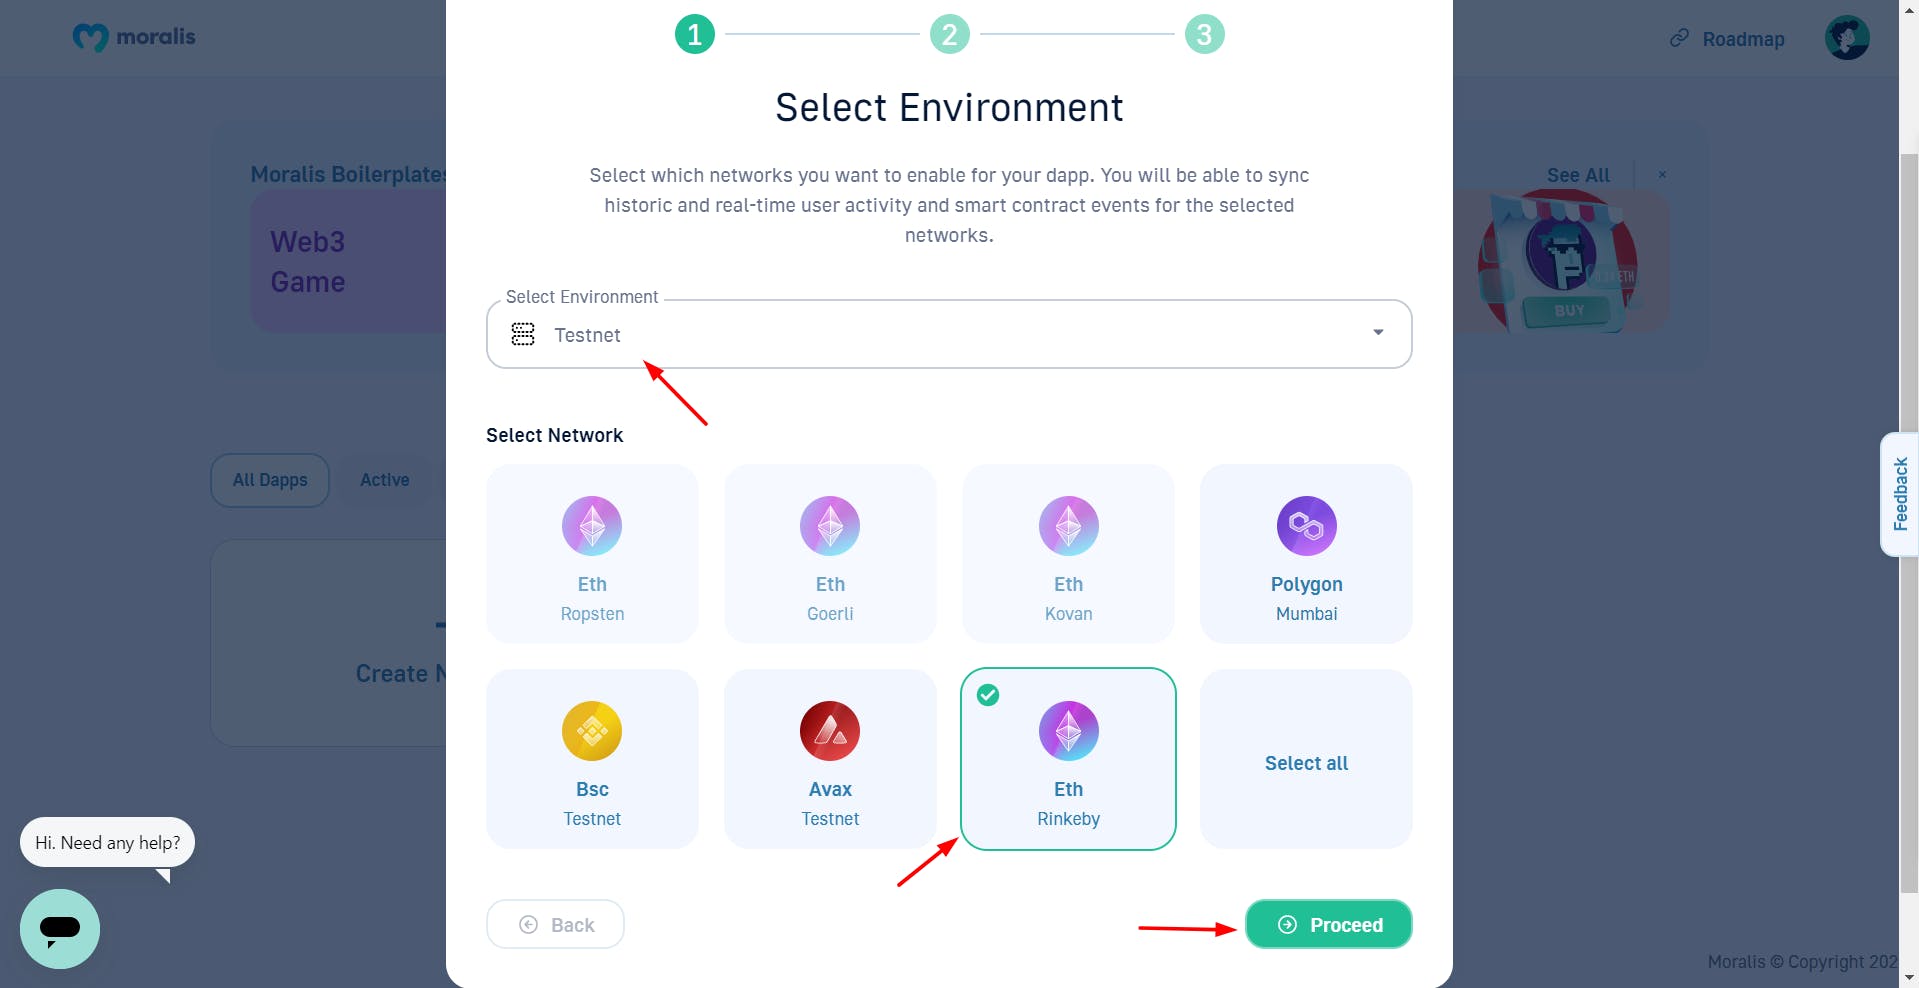
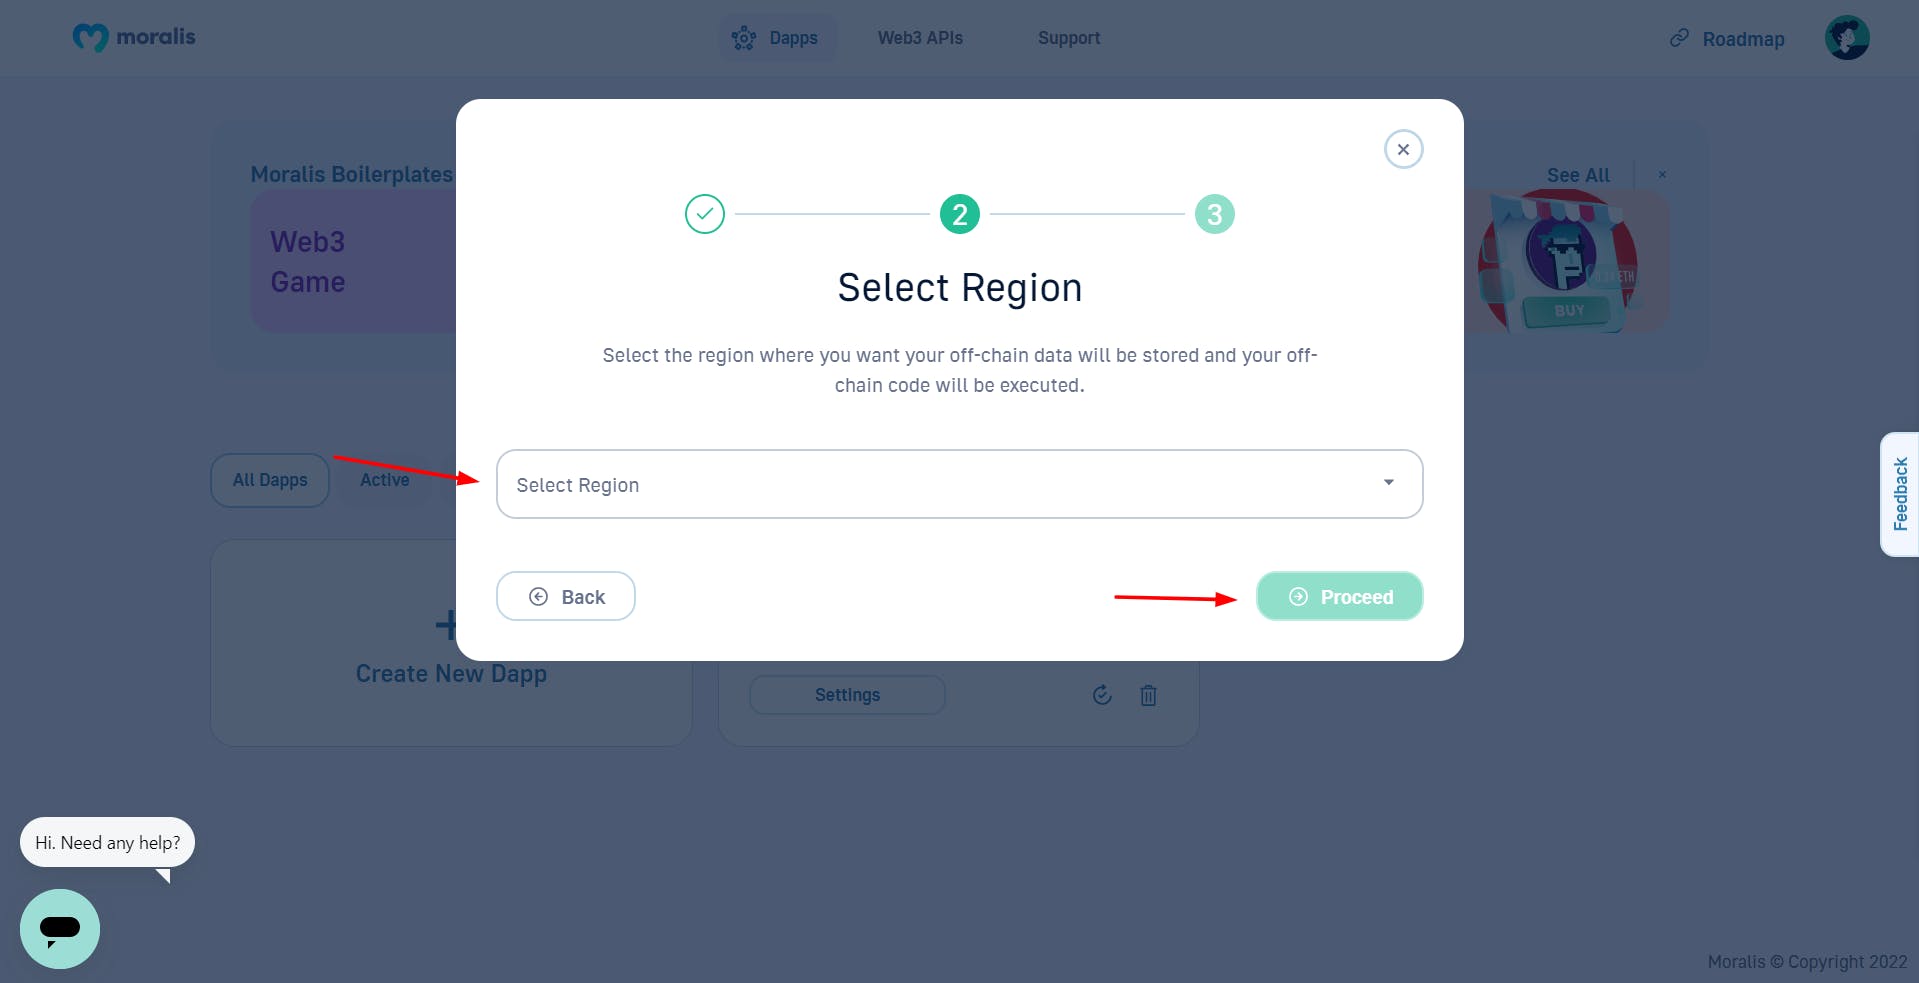
On this step, we’ll select our area. It’s best if you choose a area near the place you might be.
Lastly, we give our dApp a reputation, which on this case is Token Swap. After you have entered your dApp identify, click on on Create Your Dapp.

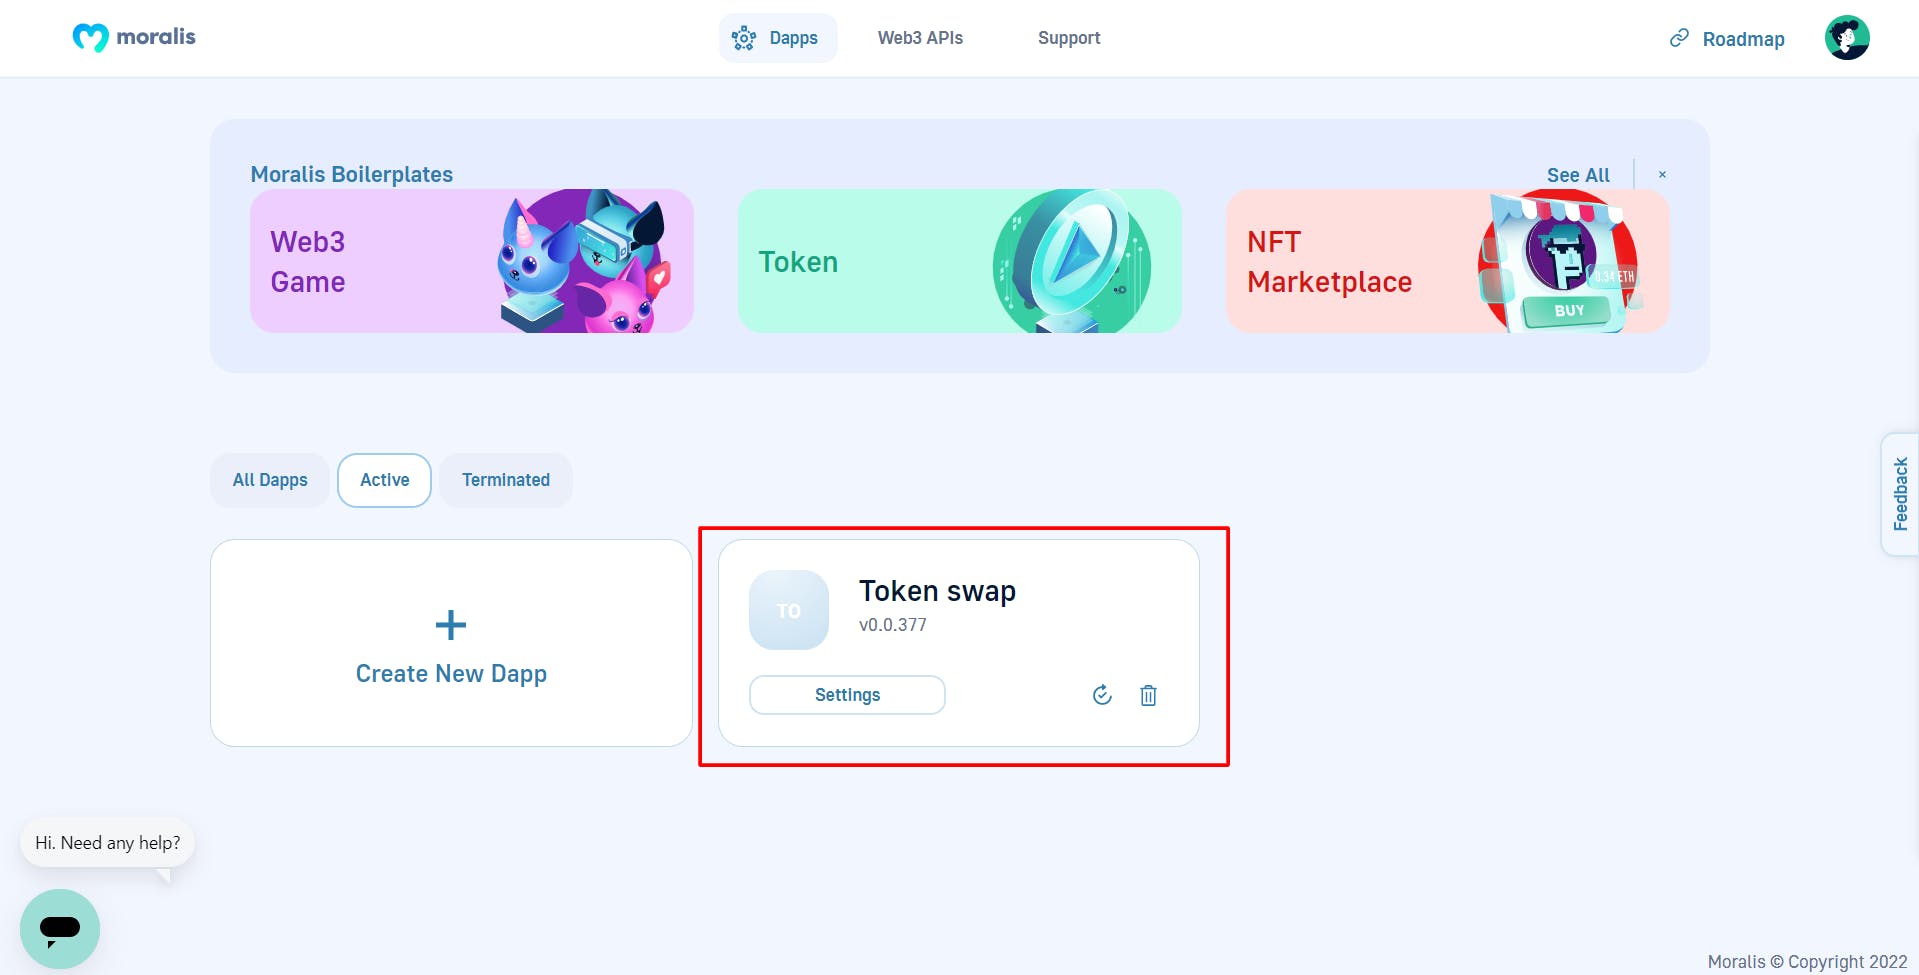
Our newly created dApp ought to present up on our dashboard.
We’ve got accomplished the creation of our Moralis dApp from the dashboard. All that continues to be is to put in the 1 inch Moralis plugin. This plugin will permit us to combine a DEX/DeFi characteristic into our dApp and provides is the token swapping performance we need to obtain.
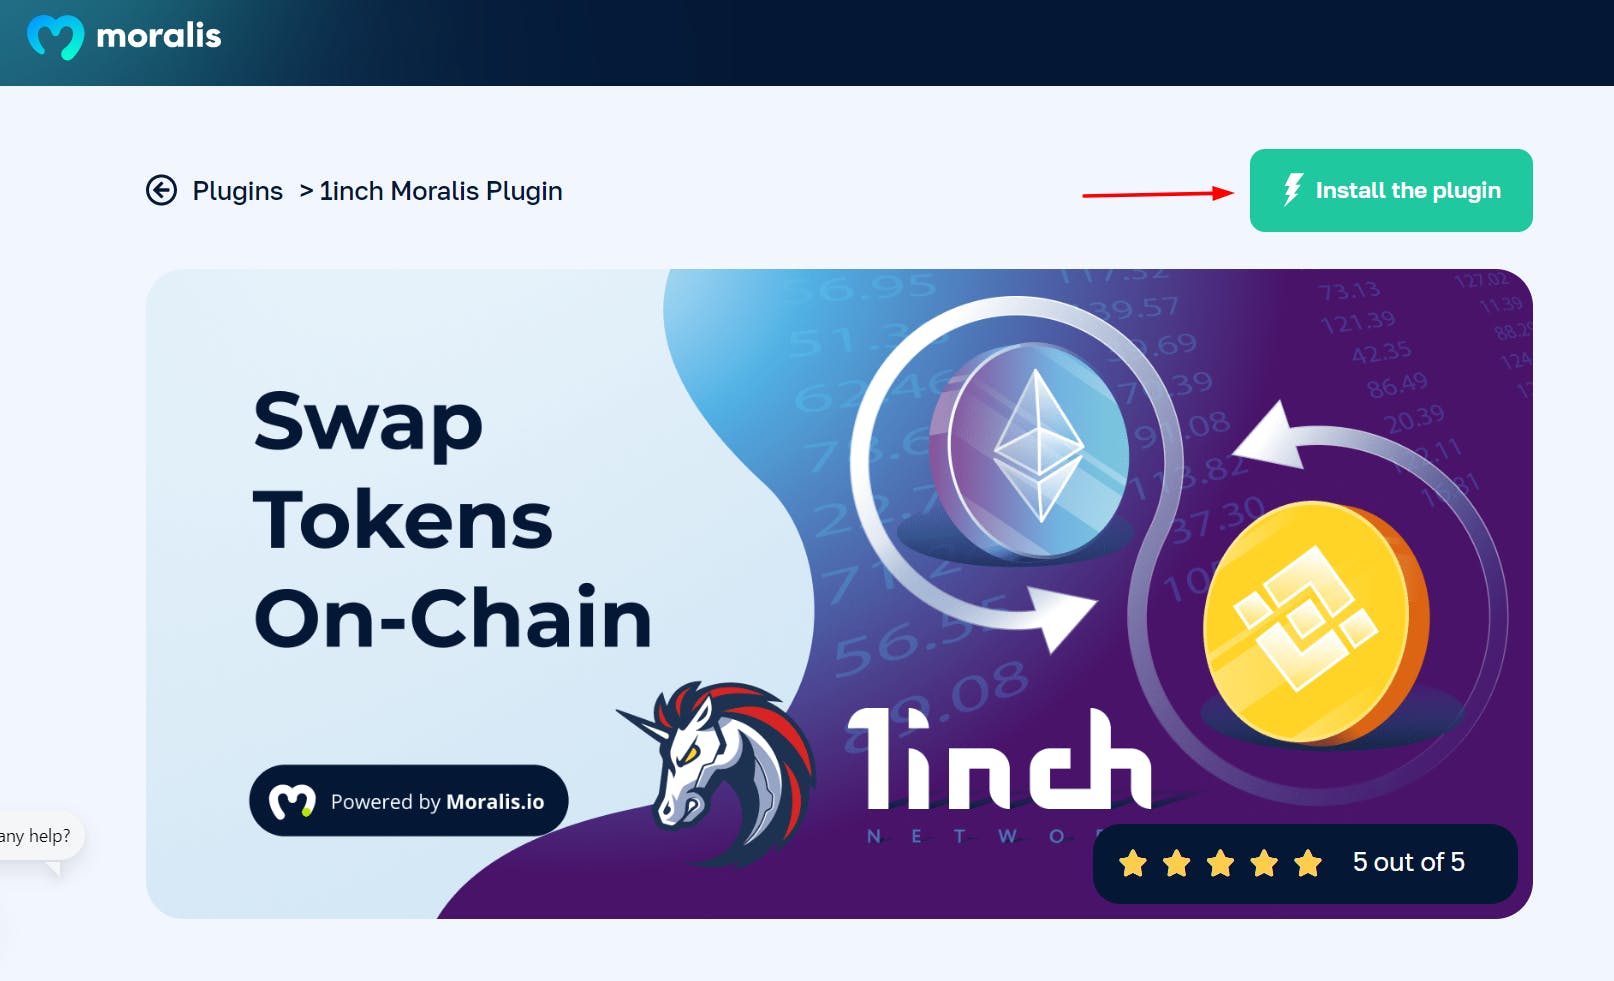
The 1 inch Plugin
The 1inch plugin introduces on-chain buying and selling performance right into a dApp utilizing the 1inch contract.
How does 1 inch work? 1 inch is basically a DEX aggregator that searches different decentralized exchanges for the bottom cryptocurrency costs and executes a swap in probably the most environment friendly and optimum methodology doable, so you do not have to pay extraordinarily excessive transaction charges. What’s extra, as a result of it’s decentralized, there isn’t any danger of shedding funds.
Moralis 1Inch Plugin This plugin integrates the DeFi/DEX aggregator 1Inch into any undertaking that makes use of Moralis. 17 September 2021
The 1 inch plugin helps a number of chains, together with:
- Ethereum (ETH)
- Polygon (polygon)
- Binance Good Chain (BSC)
You may learn extra in regards to the 1 inch Moralis plugin here.
Word that when utilizing this plugin, a 1% transaction price is charged on every swap.
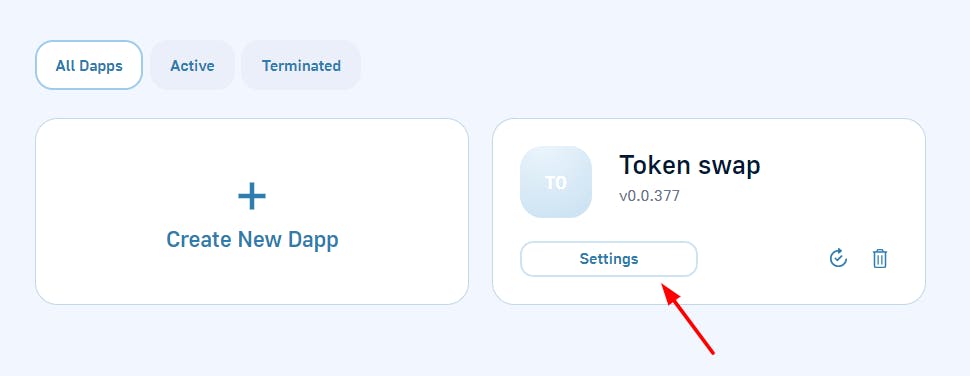
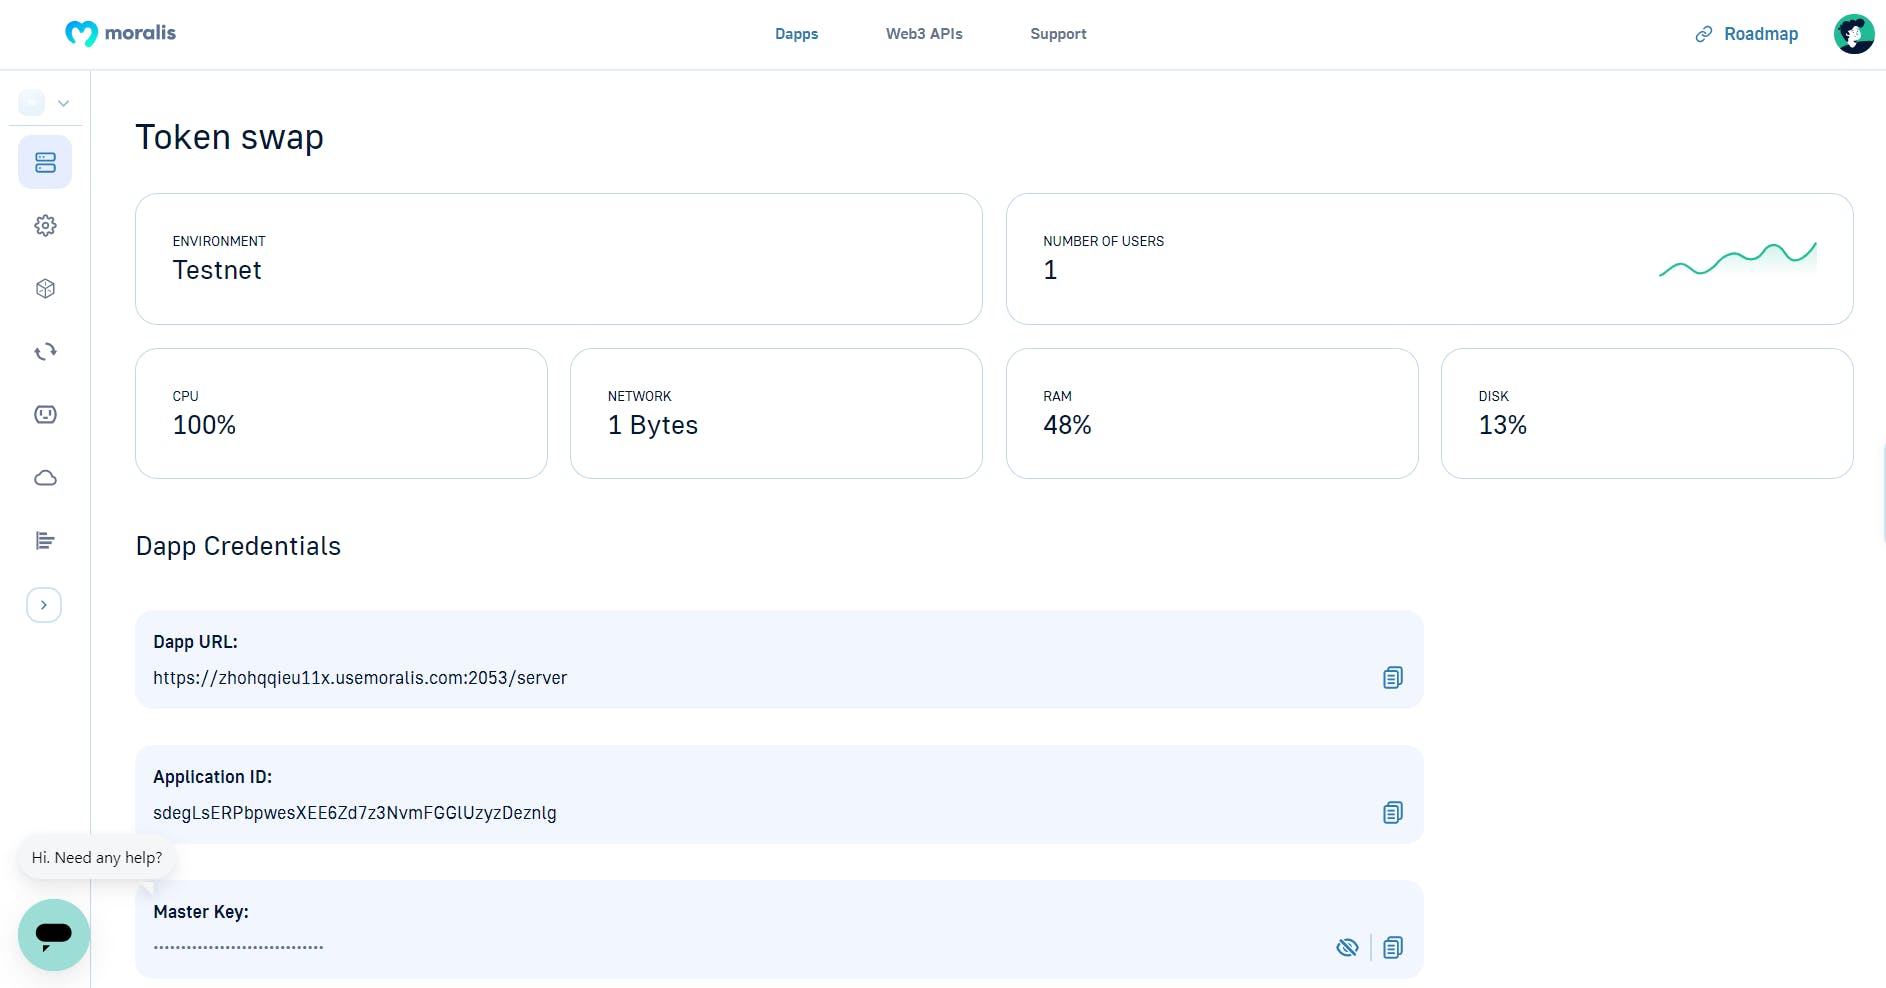
By clicking on settings, you possibly can entry the Token Swap dApp’s principal dashboard.
Right here we are able to see:
- Dapp URL
- Software ID
- Grasp Key
- CPU
- Community
- RAM
- Disk and another very important details about our dApp
For a significant undertaking, it is advisable that you just hold these keys personal.
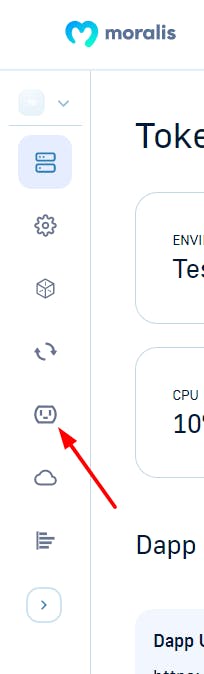
On the sidebar of your dashboard, click on on“plugins as proven within the screenshot beneath.
By clicking on Add a brand new plugin, try to be redirected to a plugins page. Right here we are able to see an inventory of different plugins, however we solely want to search out the 1inch plugin which is what we can be putting in and utilizing
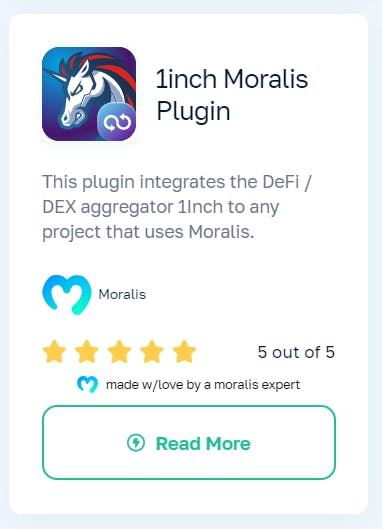
Subsequent, click on on the plugin, and as soon as once more, you can be redirected to an installation page. On this web page, we’re given some extra details about the plugin and supported chains, in addition to come helpful code snippets that come helpful on this tutorial.
Click on on Set up the plugin
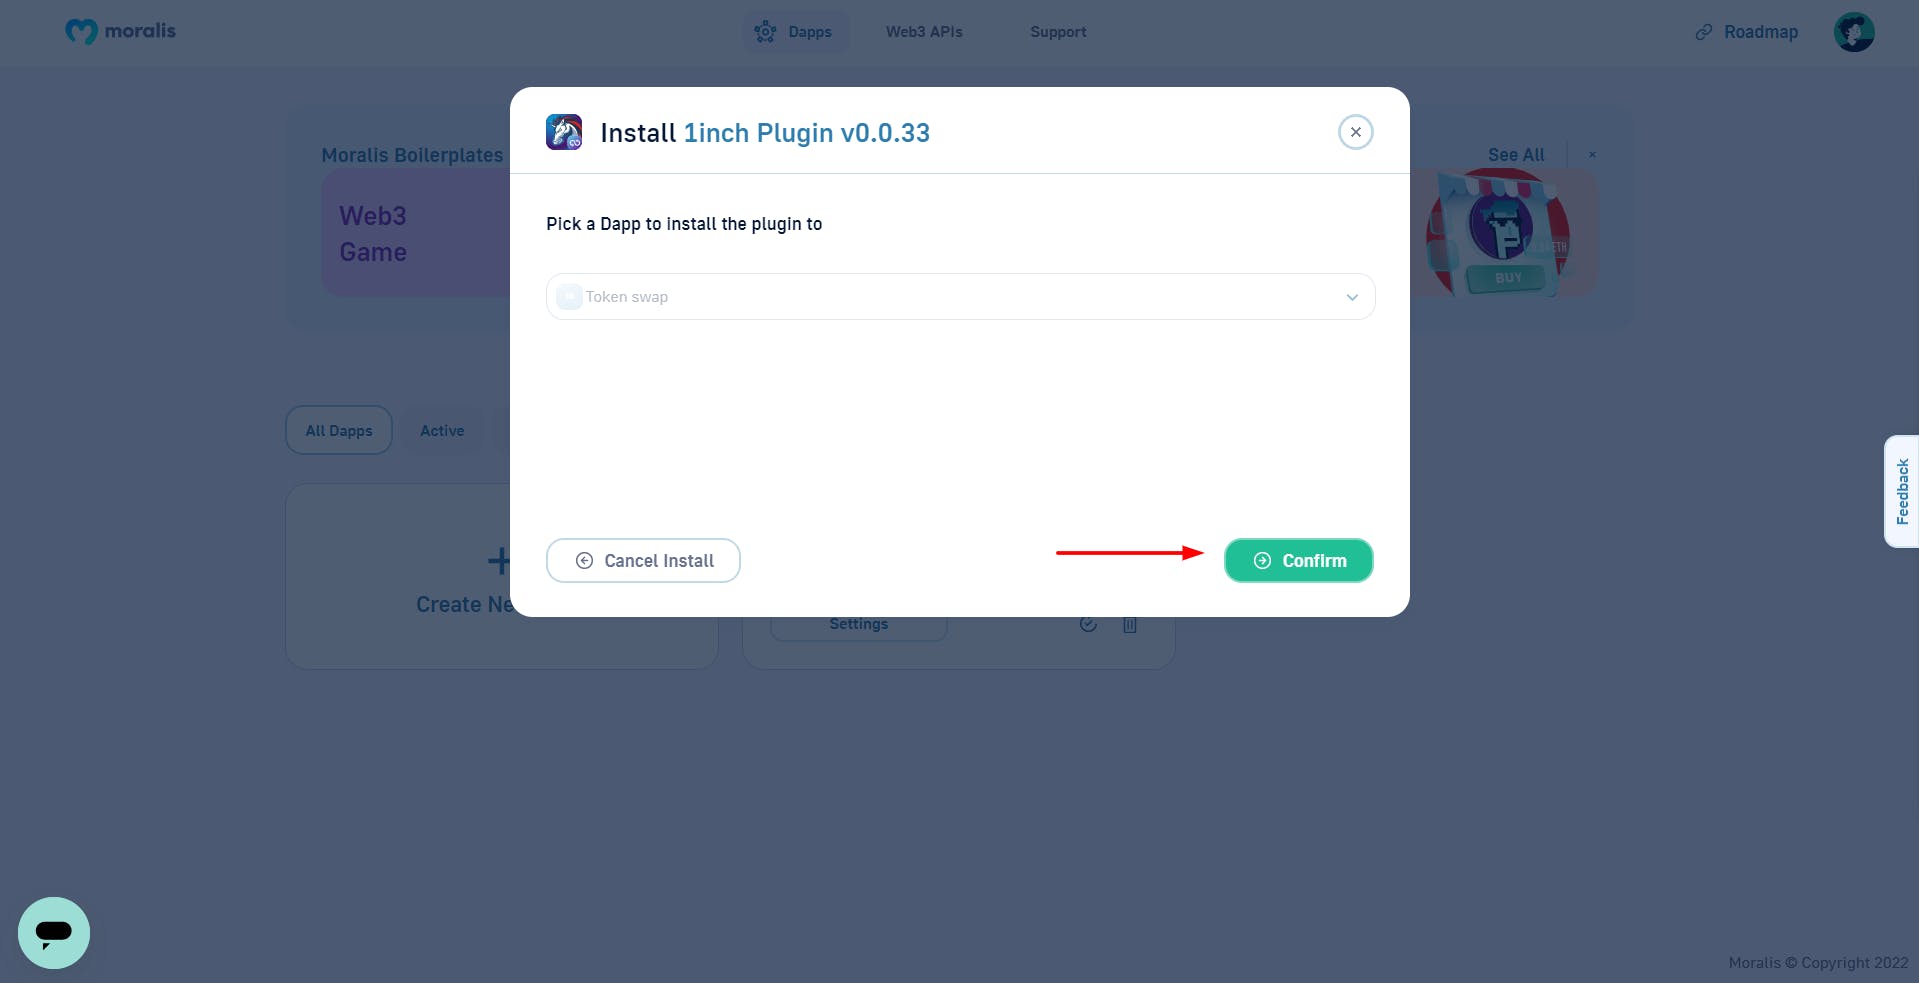
A brand new tab will open, and we select the dApp we need to set up the plugin into. Click on Verify, then click on Set up. That is it! We’re carried out putting in The 1inch Plugin.
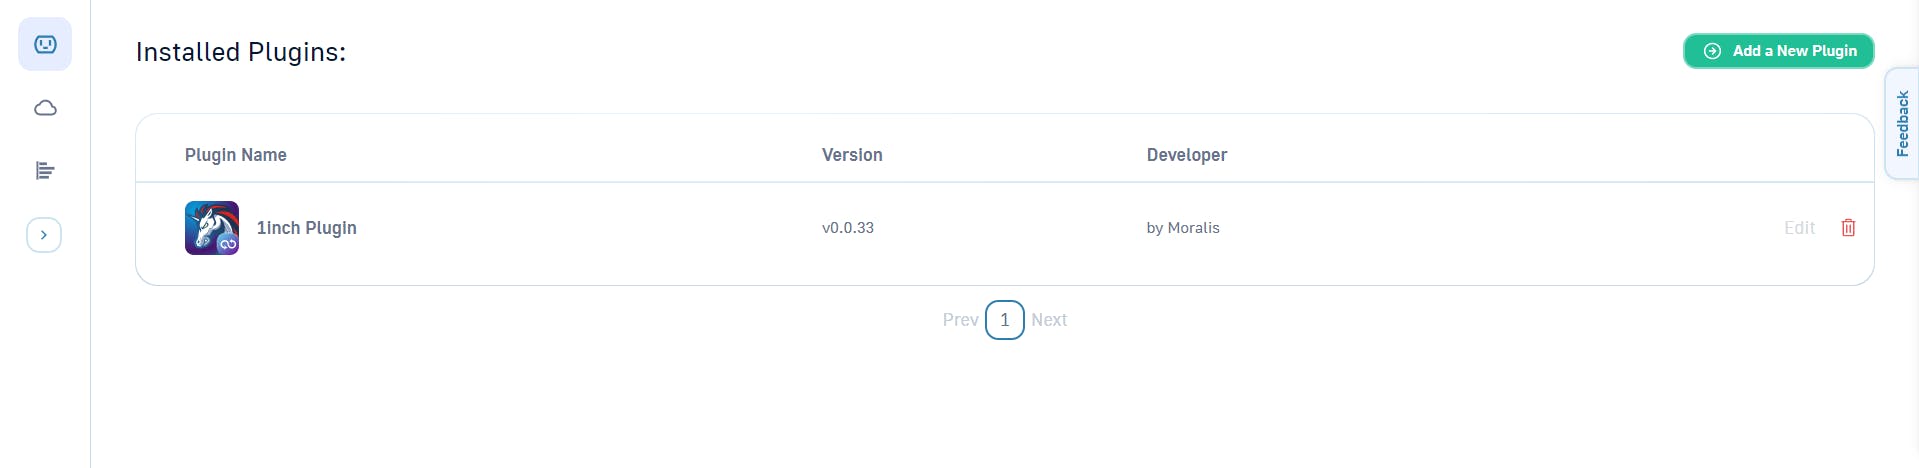
Upon navigating again into our dApp’s plugins tab, we must always see the newly put in 1inch plugin.
Creating our React app
Let’s start by beginning our terminal. We should first create our react undertaking and alter the listing to that folder by operating:
npx create-react-app token-swap
cd token-swap
When you do not have already got create-react-app put in, you are able to do so by operating the code beneath in your terminal.
npm i create-react-app
Now open the folder in your most well-liked code editor. For this tutorial, we can be utilizing Visible Studio Code (VS Code). A shortcut to open the folder in VS Code is navigating into the undertaking folder and executing:
code .
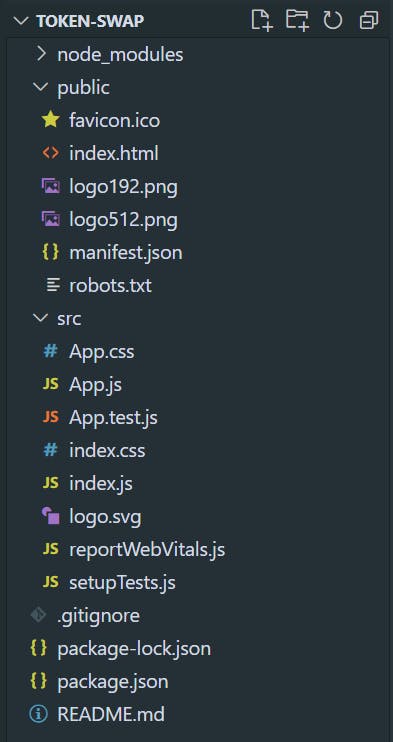
As all the time, after making a react app, your folder construction ought to appear to be this:
For the sake of this tutorial, we’ll be creating a brand new dApp. We can’t be utilizing any boilerplates code.
Operating the React app
To begin the React app, run:
npm begin
After operating the command, navigate to localhost:3000; there, you need to see a web page like this.
Let’s begin constructing
We’ll hold the design easy as a result of this tutorial goals that can assist you perceive token swapping and learn how to implement it by yourself. Nevertheless, you might be free to implement any types and designs that you really want.
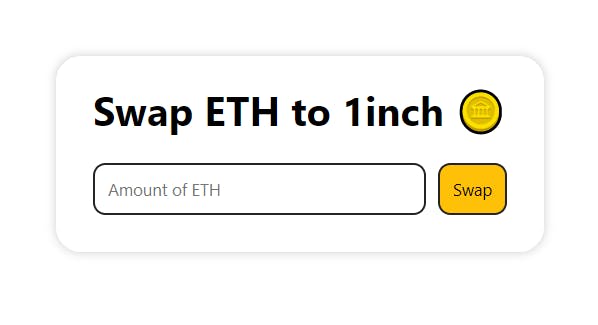
That is the UI we can be constructing for this tutorial:
Putting in and establishing moralis in react
We have to join and arrange our dApp with the Moralis React SDK so we are able to have entry to Moralis’ huge vary of instruments and companies.
Be taught extra about connecting a react app to moralis from the official documentation
Run this in your terminal to put in Moralis:
npm set up moralis react-moralis
After the set up is full, we’ll proceed to arrange moralis. Open index.js, which ought to comprise the next code by default:
import React from 'react';
import ReactDOM from 'react-dom/consumer';
import './index.css';
import App from './App';
import reportWebVitals from './reportWebVitals';

const root = ReactDOM.createRoot(doc.getElementById('root'));
root.render(
  <React.StrictMode>
    <App />
  </React.StrictMode>
);


reportWebVitals();
Import the Moralis Supplier. Then add element as proven within the code beneath.
import React from 'react';
import ReactDOM from 'react-dom/consumer';
import './index.css';
import App from './App';
import reportWebVitals from './reportWebVitals';
import { MoralisProvider } from "react-moralis";

const root = ReactDOM.createRoot(doc.getElementById('root'));
root.render(
  <React.StrictMode>
    <MoralisProvider
      serverUrl="https://zhohqqieu11x.usemoralis.com:2053/server"
      appId="sdegLsERPbpwesXEE6Zd7z3NvmFGGlUzyzDeznlg"
    >
      <App />
    </MoralisProvider>
  </React.StrictMode>
);


reportWebVitals();
I used the
serverUrlandappIdgenerated by my dashboard right here. You’ll clearly have totally different values, so substitute the values with what you see in your dashboard.
The Frontend
Open App.js and substitute the boilerplate code with this code:
import "./App.css";

perform App() {
  return (
    <div className="App">
      <principal>
        <h1>Swap ETH for USDT 🪙</h1>
        <div className="input-container">
          <enter placeholder="Quantity of ETH" kind="quantity" />
          <button>Swap</button>
        </div>
      </principal>
    </div>
  );
}

export default App;
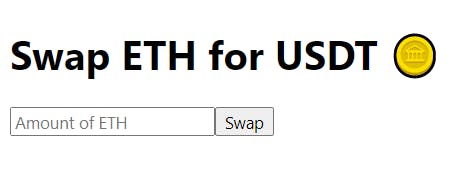
Once you go to your browser, you need to see a web page just like this
Now comes the enjoyable half: styling our app with CSS. Navigate to our undertaking folder and open the index.css file. Some boilerplate CSS code ought to be included. Let’s substitute that with the next code.
* {
  font-family: system-ui, -apple-system, BlinkMacSystemFont, "Segoe UI", Roboto,
    Oxygen, Ubuntu, Cantarell, "Open Sans", "Helvetica Neue", sans-serif;
}

physique {
  overflow: hidden;
}

.App {
  peak: 100vh;
  width: 100vw;
  show: flex;
  align-items: middle;
  justify-content: middle;
}

principal {
  padding: 30px;
  padding-top: 0;
  box-shadow: 0 0 8px #9e9e9e8a;
  border-radius: 20px;
  width: max-content;
}

.input-container {
  show: flex;
  justify-content: middle;
  align-items: middle;
}

enter {
  width: 100%;
}

button {
  margin-left: 10px;
  cursor: pointer;
  background: #ffc107;
  transition: 0.2s linear;
}

button:energetic {
  rework: scale(0.9);
  box-shadow: 0 0 8px #9e9e9e8a;
}

enter,
button {
  define: none;
  padding: 10px;
  border-radius: 10px;
  border: 2px strong #242424;
}
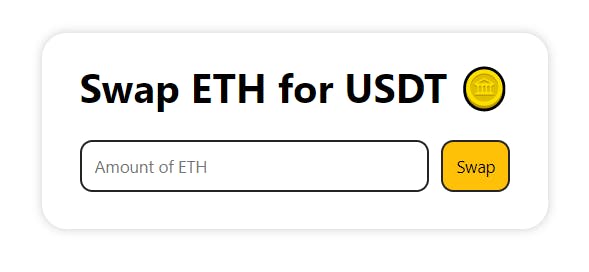
The CSS code above ought to rework our dApp from the earlier screenshot into one thing extra visually interesting, like this:
When the swap button is pressed, we need to name a perform that converts our ETH token into the USDT token. Additionally, we would prefer to seize the consumer enter and use it as the quantity of ETH we need to swap.
Let’s begin by getting the values from the enter field. To perform this, we create a variable to retailer the enter worth.
const [amount, setAmount] = useState('')
Subsequent, we get the worth of the enter field at any time when the values within the field change, after which we use the setAmount perform to set the worth of the quantity variable to the present values within the enter field. We additionally set the variable quantity as the worth of the enter field.
<enter
  placeholder="Quantity of ETH"
  worth={quantity}
   onChange={(e) => setAmount(e.goal.worth)}
   kind="quantity"
/>
Let’s write a perform that incorporates the principle swapping code.
const swap = async () => {
      attempt {

      } catch (e) {
        console.log(e.message);
      }
   };
When clicked, our button must also be capable of invoke the swap perform. Let’s begin by updating the button’s code.
<button onClick={swap}>Swap</button>
The ultimate code within the App.js file ought to appear to be this:
import { useState } from "react";
import "./App.css";

perform App() {
  const [amount, setAmount] = useState("");

  const swap = async () => {
      attempt {

      } catch (e) {
        console.log(e.message);
      }
   };

  return (
    <div className="App">
      <principal>
        <h1>Swap ETH for USDT 🪙</h1>
        <div className="input-container">
          <enter
            placeholder="Quantity of ETH"
            worth={quantity}
            onChange={(e) => setAmount(e.goal.worth)}
            kind="quantity"
          />
          <button onClick={swap}>Swap</button>
        </div>
      </principal>
    </div>
  );
}

export default App;
We wrapped the code for the swap perform in a try-catch block to stop the frontend from breaking down when an error is detected.
Our frontend is now full! Let’s get to work on the swap perform.
We first import the Moralis SDK
import Moralis from "moralis";
At this level, earlier than we start calling the principle swap perform, we have to do just a few minor setups for the swapping to work.
This is an overview of what we can be doing within the swap perform:
- We load the Moralis plugins.
- Initialize the 1inch plugin and assign it to a variable
- Allow web3
- Test to see if a consumer has his pockets linked.
- Lastly, we name the swap perform
Loading Moralis plugins
To make use of Moralis plugins, we should invoke a built-in methodology that initializes the plugins. Add this code into the swap perform.
await Moralis.initPlugins();
Initializing the 1inch plugin
We will entry the 1inch plugin in Moralis.Plugins.oneInch. On this part of our dApp, we’ll assign 1inch to a variable that we’ll use later within the code.
let oneInchDex = Moralis.Plugins.oneInch;
Enabling Web3
The code we’ll use on this step is sort of self-explanatory. It really works in the identical approach as window.ethereum.allow() and returns a web3Provider occasion. We do that in order that our dApp can entry a web3Provider. This permits us to implement options resembling calling contract capabilities, interacting with different good contracts, consumer pockets authentication, and plenty of different web3 companies.
await Moralis.enableWeb3();
Checking if a pockets is linked
The pockets have to be linked to the dApp to ensure that the dApp to learn the walet’s info, get the pockets handle, and calculate the quantity of crypto within the pockets. Pockets connection and authentication are very simple with Moralis. This is learn how to do it:
if (!Moralis.Person.present()) {
    await Moralis.authenticate();
}
The swap perform ought to now embody the next code:
const swap = async () => {
    attempt {
       await Moralis.initPlugins();
       let oneInchDex = Moralis.Plugins.oneInch;
       await Moralis.enableWeb3();


       if (!Moralis.Person.present()) {
         await Moralis.authenticate();
       }
    } catch (e) {
      console.log(e.message);
    }
  };
Following that, we’ll declare the six variables that we’ll require within the swap perform. These variables are as follows:
- FROM_TOKEN_ADDRESS
- TO_TOKEN_ADDRESS
- WALLET_ADDRESS
- AMOUNT
- CHAIN
- OPTIONS
Within the code, we’ll assign values to those variables
const FROM_TOKEN_ADDRESS = "0xeeeeeeeeeeeeeeeeeeeeeeeeeeeeeeeeeeeeeeee";
const TO_TOKEN_ADDRESS = "0xdac17f958d2ee523a2206206994597c13d831ec7";
const WALLET_ADDRESS = "0x...123";
const CHAIN = "eth";
const OPTIONS = {
        chain: CHAIN,
        fromTokenAddress: FROM_TOKEN_ADDRESS,
        toTokenAddress: TO_TOKEN_ADDRESS,
        quantity: quantity,
        fromAddress: WALLET_ADDRESS,
        slippage: 1,
};
As a result of we’re making our swap on the Ethereum chain and loading property from the Ethereum chain, the native token, ETH, is assigned an odd handle, which is 0xee…eeee. On a community like Polygon, that handle can be assigned to MATIC, Polygon’s native token, whereas on the Binance Good Chain (BSC), the handle can be assigned to BNB, BSC’s native token.
To get all the tokens supported by the 1inch plugin, the perform beneath will return an array containing all the supported tokens in addition to their token names, symbols, and addresses. There, chances are you’ll choose which tokens to change from and which tokens to swap to. You are able to do this by merely altering the FROM_TOKEN_ADDRESS and TO_TOKEN_ADDRESS to your chosen token addresses.
To kick issues up a notch, you possibly can add a dropdown for choosing the tokens after which populating the token handle variables with the tokens chosen from the dropdown
async perform getSupportedTokens() {
        const tokens = await Moralis.Plugins.oneInch.getSupportedTokens({
          chain: "eth",
        });

        console.log(tokens);
}
Calling the swap methodology
Moralis makes this straightforward for us to swap tokens by changing the swap perform right into a single line of code:
const receipt = await oneInchDex.swap(OPTIONS);
The ultimate code
App.js:
import { useState } from "react";
import Moralis from "moralis";
import "./App.css";

perform App() {
  const [amount, setAmount] = useState("");

  const swap = async () => {
    attempt {

      await Moralis.initPlugins();
      let oneInchDex = Moralis.Plugins.oneInch;
      await Moralis.enableWeb3();


      if (!Moralis.Person.present()) {
        await Moralis.authenticate();
      }

      const FROM_TOKEN_ADDRESS = "0xeeeeeeeeeeeeeeeeeeeeeeeeeeeeeeeeeeeeeeee";
      const TO_TOKEN_ADDRESS = "0xdac17f958d2ee523a2206206994597c13d831ec7";
      const WALLET_ADDRESS = "0xB778AC3E4bEf931DbD3C39b71C15F00A773d596f";
      const CHAIN = "eth";
      const OPTIONS = {
        chain: CHAIN,
        fromTokenAddress: FROM_TOKEN_ADDRESS,
        toTokenAddress: TO_TOKEN_ADDRESS,
        quantity: quantity,
        fromAddress: WALLET_ADDRESS,
        slippage: 1,
      };

      await oneInchDex.swap(OPTIONS);
    } catch (e) {
      console.log(e.message.textual content);
    }
  };

  return (
    <div className="App">
      <principal>
        <h1>Swap ETH for USDT 🪙</h1>
        <div className="input-container">
          <enter
            placeholder="Quantity of ETH"
            worth={quantity}
            onChange={(e) => setAmount(e.goal.worth)}
            kind="quantity"
          />
          <button onClick={swap}>Swap</button>
        </div>
      </principal>
    </div>
  );
}

export default App;
index.css:
  * {
    font-family: system-ui, -apple-system, BlinkMacSystemFont, "Segoe UI", Roboto,
      Oxygen, Ubuntu, Cantarell, "Open Sans", "Helvetica Neue", sans-serif;
  }

  physique {
    overflow: hidden;
  }

  .App {
    peak: 100vh;
    width: 100vw;
    show: flex;
    align-items: middle;
    justify-content: middle;
  }

  principal {
    padding: 30px;
    padding-top: 0;
    box-shadow: 0 0 8px #9e9e9e8a;
    border-radius: 20px;
    width: max-content;
  }

  .input-container {
    show: flex;
    justify-content: middle;
    align-items: middle;
  }

  enter {
    width: 100%;
  }

  button {
    margin-left: 10px;
    cursor: pointer;
    background: #ffc107;
    transition: 0.2s linear;
  }

  button:energetic {
    rework: scale(0.9);
    box-shadow: 0 0 8px #9e9e9e8a;
  }

  enter,
  button {
    define: none;
    padding: 10px;
    border-radius: 10px;
    border: 2px strong #242424;
  }
That is it! We have accomplished our personal token swapping dApp. Once more, you possibly can type this to make it look even higher, add extra functionalities, add a loader whereas the swap is operating, and so forth.
This text is part of the Hashnode Web3 blog, the place a group of curated writers are bringing out new assets that can assist you uncover the universe of web3. Test us out for extra on NFTs, DAOs, blockchains, and the decentralized future.


