
On this tutorial, we’ll be constructing a fully-functional an NFT minting app, EPIC NFT Assortment. We’ll be beginning out with realizing what NFTs truly are, constructing the entire decentralized software, and on the finish, we’ll get our app reside for everybody to make use of.
What are Non Fungible Tokens or NFTs?
An NFT or Non-Fungible Token is a digital asset that hyperlinks to some specific “knowledge” (e.g digital artwork, a picture, and so on). The primary perform of an NFT is that every “token” has a singular identifier that lets its proprietor show that it is certainly one of a form.
Here is an instance of a preferred assortment of NFTs with a shared theme amongst them, known as Bored Ape Yacht Membership.
What We’re Constructing
We’ll be constructing a decentralized NFT assortment app known as EPIC NFTs. The applying will let customers mint NFTs for the gathering, and later declare them utilizing their pockets addresses.
Stipulations
- Newbie to intermediate data of React.
- Familiarity with Solidity programming language.
- Conceptual understanding of blockchain, NFTs, crypto wallets and Etherscan.
We’ll be utilizing a variety of instruments at our disposal to construct the app from scratch. All these instruments are free and ought to be straightforward to combine into your system.
- Visual Studio Code or every other textual content editor.
- Hardhat for Ethereum improvement.
- Metamask as a crypto pockets.
- OpenSea for NFT internet hosting.
- Vercel and Alchemy as internet hosting platforms.
Let’s Start!
Now that we’ve got a slight trace of what we will construct. Let’s begin writing code!
We’ll begin with writing a sensible contract for our NFT assortment. We’re deploying the contract to a publicly-accessible blockchain in order that anybody can mint NFTs by way of our contract. Afterward, we’ll construct a shopper web site to allow minting the identical NFTs.

Constructing Our Good Contract
1. Setting Up the Instruments
We’ll be utilizing Hardhat to run our good contract regionally. Earlier than that, we have to set up node/npm in our system. Obtain it here.
Subsequent, let’s head to the terminal as a way to arrange the atmosphere. When you’re there, run the next instructions:
mkdir nft-assortment
cd nft-assortment
npm init -y
npm set up --save-dev hardhat
Now that we’ve got arrange the atmosphere, let’s get the mission working. Run this line of code and select the choice to create a primary pattern mission. You’ll be able to say sure to every thing:
npx hardhat
In case these dependencies didn’t get put in by default, set up them by working the next code:
npm set up --save-dev @nomiclabs/hardhat-waffle ethereum-waffle chai @nomiclabs/hardhat-ethers ethers
We’ll additionally use one thing known as OpenZeppelin to put in writing our good contract. Set up it by working the next line of code:
npm set up @openzeppelin/contracts
Within the last step, run the next code to run the pattern script:
npx hardhat run scripts/pattern-script.js
You may see one thing like this:
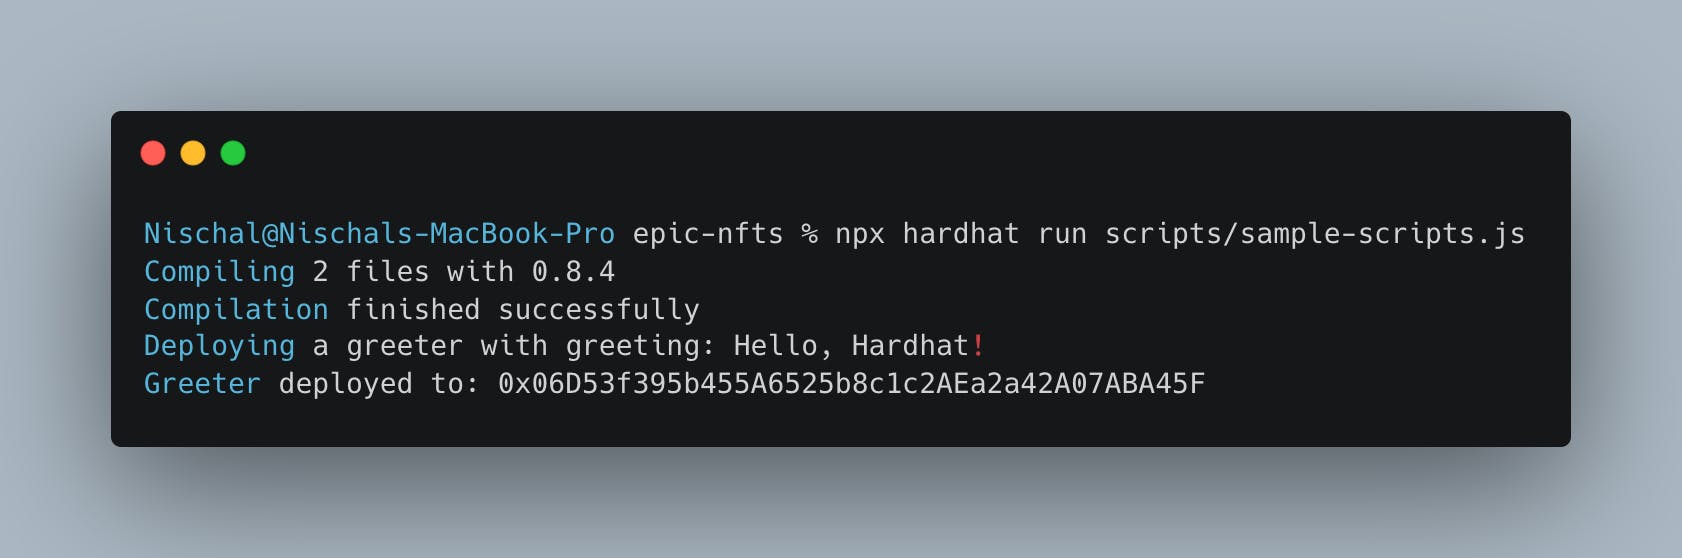
That is it! This implies our native atmosphere is ready up, and on the identical time, we additionally ran/deployed a sensible contract to a neighborhood blockchain.
2. Writing a Contract That Mints NFTs
Now, let’s write a sensible contract that may mint NFTs. Create an EpicNft.sol file within the contracts listing and enter the code given beneath (we’ll undergo every line contained in the code):
pragma solidity ^0.8.1;


import "@openzeppelin/contracts/token/ERC721/extensions/ERC721URIStorage.sol";
import "@openzeppelin/contracts/utils/Counters.sol";


import "hardhat/console.sol";


contract EpicNFT is ERC721URIStorage {

  utilizing Counters for Counters.Counter;
  Counters.Counter personal _tokenIds;


  constructor() ERC721 ("SquareNFT", "SQUARE") {
    console.log("That is my NFT contract. Woah!");
  }


  perform makeAnNFT() public {

    uint256 newItemId = _tokenIds.present();


    _safeMint(msg.sender, newItemId);


    _setTokenURI(newItemId, "blah");


    _tokenIds.increment();
  }
}
Let’s take it step-by-step by way of the
makeAnNFTperform.
uint256 newItemId = _tokenIds.present();
This can be a distinctive identifier for our NFT. That is what is going to maintain it fungible.
_safeMint(msg.sender, newItemId);
Right here, we’re minting the NFT with the id newItemId to the consumer with the handle msg.sender. Solidity supplies us with the variable msg.sender that offers us entry to the general public handle of the one that’s calling a specific contract.
_setTokenURI(newItemId, "blah");
This may create the NFT’s distinctive identifier, together with the information related to that distinctive identifier.
_tokenIds.increment();
After the NFT is minted, we increment tokenIds with a perform OpenZeppelin offers us. This makes certain that the following time an NFT is minted, it will have a special tokenIds identifier.
3. Including Knowledge for Our NFT
If you happen to have a look at the code once more within the EpicNft.sol file, you will discover tokenURI, which is the place our NFT knowledge lives. Normally, it’s a hyperlink to a JSON file. It seems one thing like this:
{
    "title": "Spongebob",
    "description": ".A yellow sea sponge who lives within the Pacific Ocean. ",
    "picture": "https://i.imgur.com/v7U019j.png"
}
Keep in mind, the JSON construction ought to match the OpenSea Requirements. In any other case, the resultant NFT might seem damaged on the web site.
For the reason that tokenURI requires a hyperlink, we have to go to this hyperlink and paste our JSON knowledge. As soon as saved, it will give us a hyperlink pointing to the identical JSON.
You’ll be able to paste the brand new hyperlink right here:
_setTokenURI(newItemId, "JSON_URL");
Beneath that line, let’s add a console.log to assist us see when the NFT is minted and to who:
console.log("An NFT w/ ID %s has been minted to %s", newItemId, msg.sender);
4. Minting the NFT Domestically
Create a run.js file within the scripts folder to truly name our makeAnNFT() perform. Enter the next code in the identical file:
const major = async () => {

  const nftContractFactory = await hre.ethers.getContractFactory('EpicNFT');
  const nftContract = await nftContractFactory.deploy();
  await nftContract.deployed();
  console.log("Contract deployed to:", nftContract.handle);


  let txn = await nftContract.makeAnNFT()
  await txn.wait()


  txn = await nftContract.makeAnNFT()
  await txn.wait()
};

const runMain = async () => {
  strive {
    await major();
    course of.exit(0);
  } catch (error) {
    console.log(error);
    course of.exit(1);
  }
};

runMain();
Run this script utilizing the next command within the terminal:
npx hardhat run scripts/run.js
As soon as accomplished, you will see an output message much like this in your terminal:

5. Minting the NFT Globally
After we use run.js, we’re simply creating an NFT regionally. The subsequent step is to maneuver this contract to a Testnet, the place we’ll have the ability to give “actual” customers an opportunity to mint NFTs and examine them on an internet site.
Create a deploy.js file within the scripts folder and enter the next code:
const major = async () => {

  const nftContractFactory = await hre.ethers.getContractFactory('EpicNFT');
  const nftContract = await nftContractFactory.deploy();
  await nftContract.deployed();
  console.log("Contract deployed to:", nftContract.handle);


  let txn = await nftContract.makeAnEpicNFT()

  await txn.wait()
  console.log("Minted NFT #1")

  txn = await nftContract.makeAnEpicNFT()

  await txn.wait()
  console.log("Minted NFT #2")
};

const runMain = async () => {
  strive {
    await major();
    course of.exit(0);
  } catch (error) {
    console.log(error);
    course of.exit(1);
  }
}

runMain();
The subsequent step in deploying the contract globally is to make adjustments to our hardhat.config.js file. You will discover this file within the root listing:
require('@nomiclabs/hardhat-waffle');
require("dotenv").config({ path: ".env" });

module.exports = {
  solidity: '0.8.1',
  networks: {
    rinkeby: {
      url: ALCHEMY_API_KEY_URL,
      accounts: [RINKEBY_PRIVATE_KEY],
    },
  },
};
In an effort to get the RINKEBY_PRIVATE_KEY, you will must go to Account Particulars in your crypto pockets, and get your pockets’s personal key on the Rinkeby Take a look at community. Please make sure that that is stored personal, because it’s delicate info.
Now, to get the ALCHEMY_API_KEY_URL you will need to go to Alchemy. It is a blockchain platform service which lets you broadcast your good contract to a world set of miners, which allows everybody to entry the contract.
Make an account on the platform and create a person mission for our good contract. You’ll be able to try the video beneath to know extra concerning the platform:
Finally, we’re able to deploy the blockchain contract to the Rinkeby Take a look at Community. Run the next command in terminal:
npx hardhat run scripts/deploy.js --community rinkeby
It normally takes like 10-20 seconds to deploy. Though, it’ll take us a bit longer, as we’re not solely deploying, we’re additionally minting NFTs in deploy.js.
Your terminal will find yourself trying much like one thing like this:
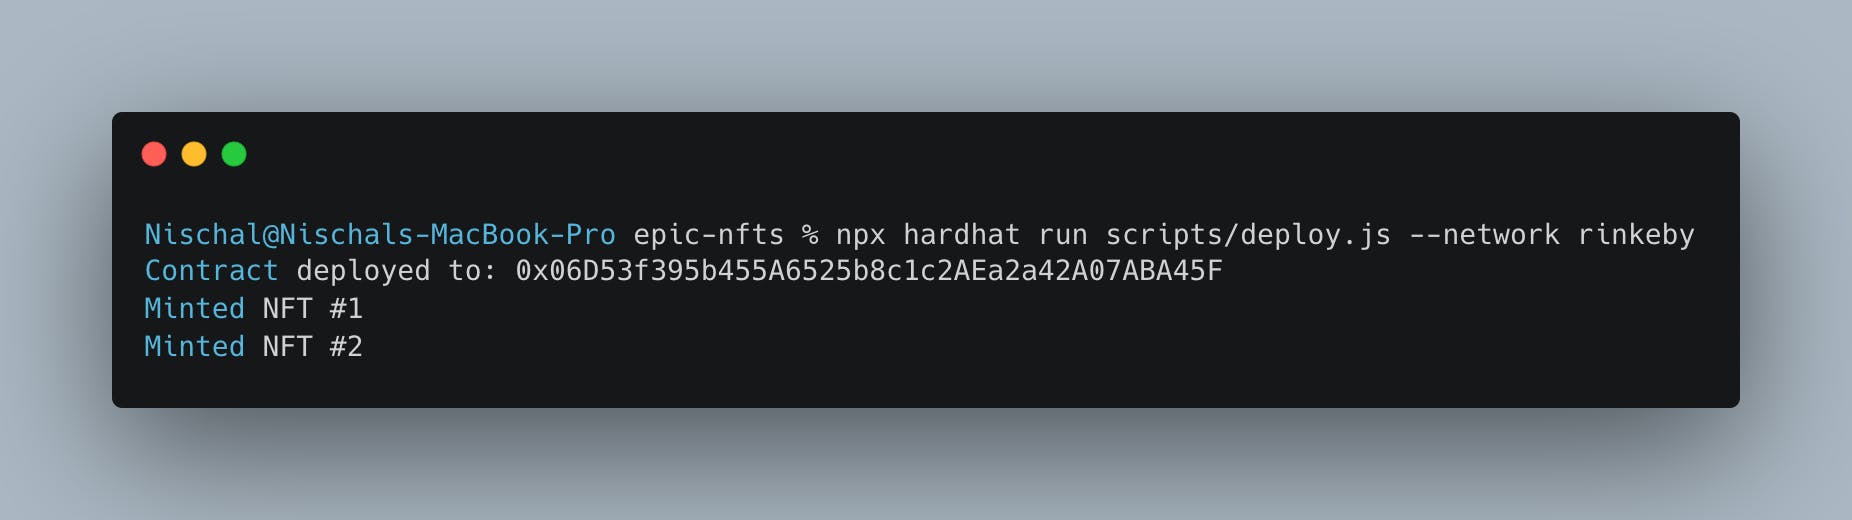
If it labored, congratulations! You are carried out with the troublesome half. Now, head to OpenSea Testnet and search the handle you see in terminal. It’ll lead you to the NFT assortment the place you simply minted an NFT for your self.
Setting Up the React App:
Now that we have arrange the blockchain aspect of issues, let’s transfer on to engaged on the client-side. We’ll be utilizing the React framework.
We have constructed a starter-kit for you. You’ll be able to clone the equipment and get began shortly.
The primary objective for this piece of content material is to get you accustomed to blockchain improvement. We can’t be going deep into the front-end improvement.
1. Setting Up the Pockets and App
We want an Ethereum pockets. Though there are a lot of to select from, we’ll be utilizing Metamask on this mission.. Obtain its browser extension and arrange your pockets here.
2. Connecting the Pockets
Let’s head to the App.js below the src listing. That is the place we’ll be doing all our work.
Within the App.js file, enter the next code:
import React, { useEffect } from "react";
import './types/App.css';
const App = () => {
const checkIfWalletIsConnected = () => {
const { ethereum } = window;
if (!ethereum) {
console.log("Be sure to have metamask!");
return;
} else {
console.log("We've the ethereum object", ethereum);
}
}
const renderNotConnectedContainer = () => (
<button className="cta-button connect-wallet-button">
Connect with Pockets
</button>
);
useEffect(() => {
checkIfWalletIsConnected();
}, [])
return (
<div className="App">
<div className="container">
{}
<div className="header-container">
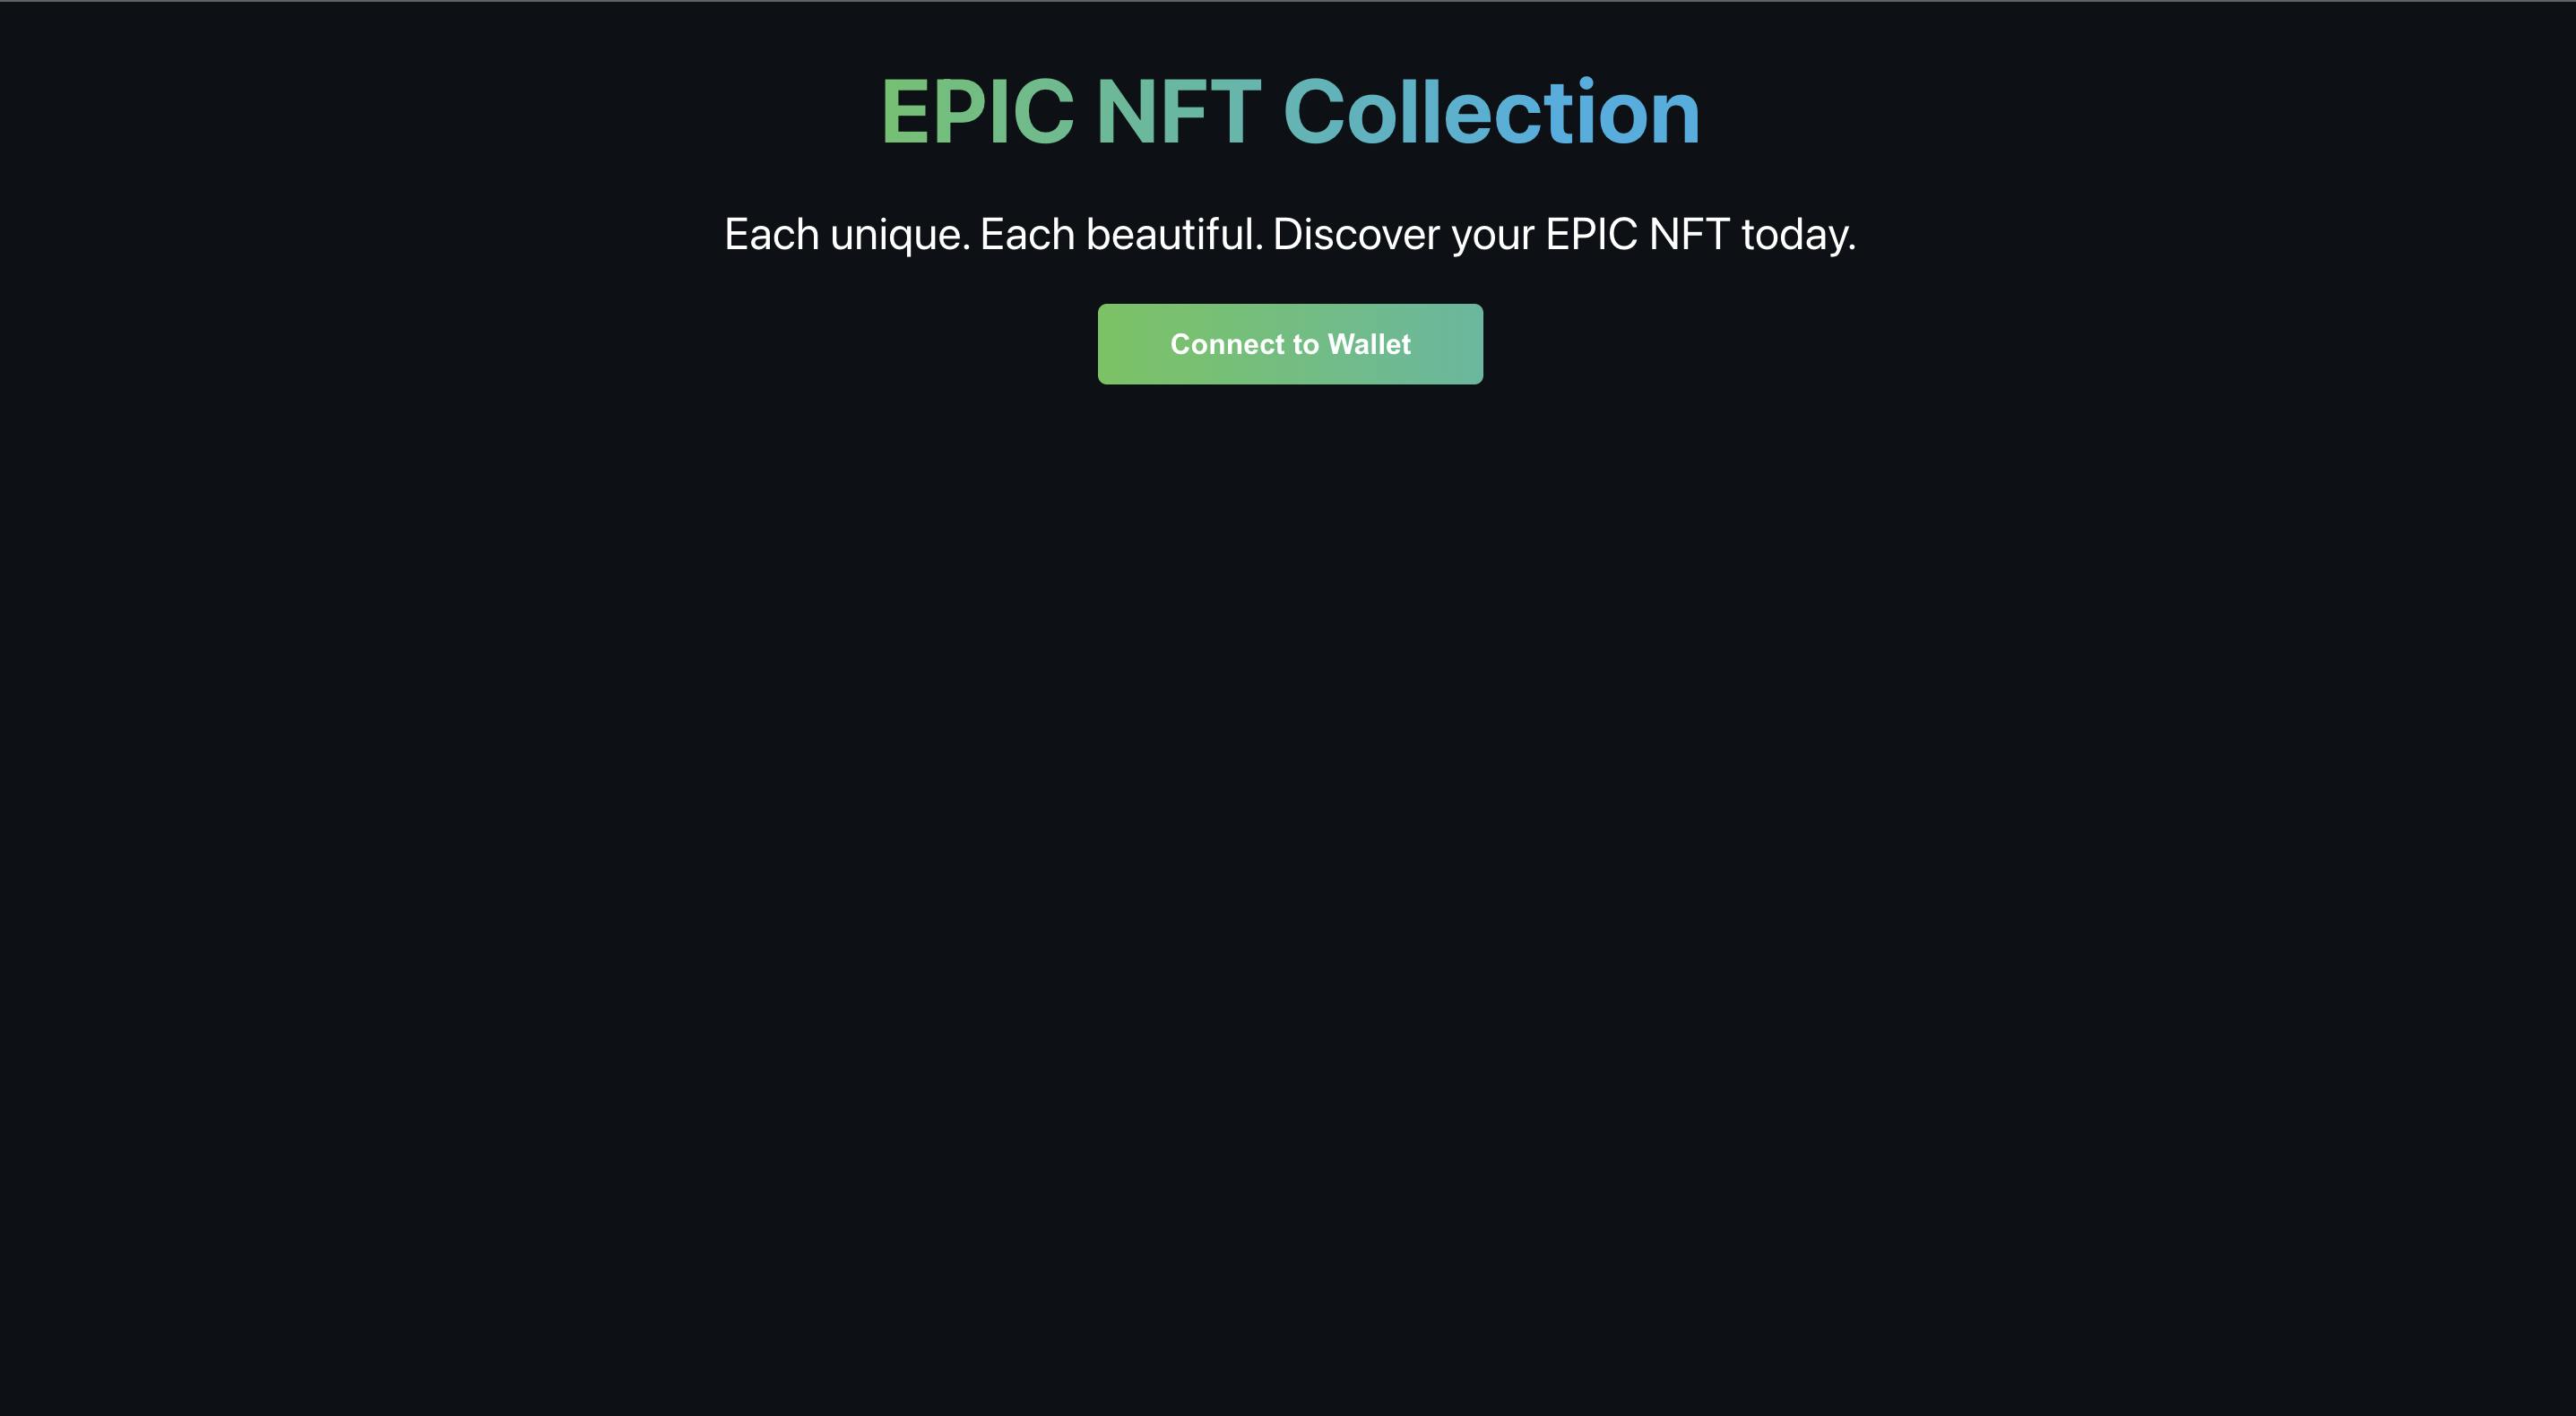
<p className="header gradient-text"EPIC NFT Assortment</p>
<p className="sub-text">
Every distinctive. Every stunning. Uncover your NFT at this time.
</p>
{}
{renderNotConnectedContainer()}
</div>
{}
<div className="footer-container">
<p className="footer-text">Constructed with 💖</a>
</div>
</div>
</div>
);
};
export default App;
Let’s add the connectWallet button. In web3, connecting your pockets is much like the “Login” button on your consumer.
import React, { useEffect, useState } from "react";
import './types/App.css';

const App = () => {
      const [currentAccount, setCurrentAccount] = useState("");

      const checkIfWalletIsConnected = async () => {
      const { ethereum } = window;

      if (!ethereum) {
        console.log("Be sure to have metamask!");
        return;
      } else {
        console.log("We've the ethereum object", ethereum);
      }

      const accounts = await ethereum.request({ technique: 'eth_accounts' });
      if (accounts.size !== 0) {
        const account = accounts[0];
        console.log("Discovered a licensed account:", account);
        setCurrentAccount(account);
      } else {
        console.log("No licensed account discovered");
      }
    }


    const connectWallet = async () => {
    strive {
      const { ethereum } = window;

      if (!ethereum) {
        alert("Get MetaMask!");
        return;
      }


     const accounts = await ethereum.request({ technique: "eth_requestAccounts" });


     console.log("Related", accounts[0]);
     setCurrentAccount(accounts[0]);
     } catch (error) {
      console.log(error);
     }
  }


  const renderNotConnectedContainer = () => (
    <button onClick={connectWallet} className="cta-button connect-wallet-button">
      Connect with Pockets
    </button>
  );

  useEffect(() => {
    checkIfWalletIsConnected();
  }, [])


  return (
    <div className="App">
      <div className="container">
        <div className="header-container">
          <p className="header gradient-text">My NFT Assortment</p>
          <p className="sub-text">
            Every distinctive. Every stunning. Uncover your NFT at this time.
          </p>
          {currentAccount === "" ? (
            renderNotConnectedContainer()
          ) : (
            <button onClick={null} className="cta-button connect-wallet-button">
              Mint NFT
            </button>
          )}
        </div>
        <div className="footer-container">
          <p className="footer-text">Constructed with 💖</a>
        </div>
      </div>
    </div>
  );
}

export default App;
3. Calling the Contract and Minting an NFT
Our contract has the perform makeAnNFT, which can truly mint the NFT. We now must name this perform from our net app.
Write the code beneath below the connectWallet perform:
const askContractToMintNft = async () => {

  const CONTRACT_ADDRESS = "DEPLOYED_RINKEBY_CONTRACT_ADDRESS";

  strive {
    const { ethereum } = window;
    if (ethereum) {

      const supplier = new ethers.suppliers.Web3Provider(ethereum);
      const signer = supplier.getSigner();
      const connectedContract = new ethers.Contract(CONTRACT_ADDRESS, EpicNft.abi, signer);


      console.log("Going to pop pockets now to pay gasoline...")
      let nftTxn = await connectedContract.makeAnNFT();


      console.log("Mining...please wait.")
      await nftTxn.wait();

      console.log(`Mined, see transaction: https:
    } else {
      console.log("Ethereum object does not exist!");
    }
  } catch (error) {
    console.log(error)
  }
}
We’ll wish to name this perform when somebody clicks the Mint NFT button. Edit the next code within the render perform:
return (
  {currentAccount === ""
    ? renderNotConnectedContainer()
    : (

      <button
         onClick={askContractToMintNft}
         className="cta-button connect-wallet-button"
      >
        Mint NFT
      </button>
    )
  }
);
For the ABI recordsdata, you will must navigate to artifacts/contracts/EpicNFT.sol/EpicNFT.json within the good contract mission and do the next operation:
Copy the contents out of your
EpicNFT.jsonfile after which head to your net app. Make a brand new folder known asutilsbelowsrc. Beneath theutilsfolder, create a brand new file namedEpicNFT.json.
The full path will look one thing like src/utils/EpicNFT.json.
Paste the ABI file contents proper there in our new file i.e.,
EpicNFT.json.
Within the App.js file, import the identical file, EpicNFT.json by including the next code:
import EpicNft from './utils/EpicNFT.json';

We’re carried out!
Now, you must have the ability to mint an NFT out of your app.
Ending Touches
Whereas we’re carried out with primary NFT minting, it is definitely not the tip of the highway, and there are ending touches we are able to convey to the app. Listed below are just a few good ones to sort out right away:
1. Dynamic NFT Mixture*
As of now, the NFTs are the identical and get minted primarily based on the pockets handle. Nevertheless, we are able to modify the contract in such a means so it produces totally different NFTs each time with a shared theme. The up to date contract is out there here, with feedback explaining all the brand new adjustments.
2.Set a Restrict on the Variety of Minted NFTs
Presently, a single consumer can mint a number of NFTs primarily based on their pockets stability. A very good replace will be to restrict the variety of particular person NFTs that may be minted by one specific handle.
Trace, you will want one thing in Solidity known as
require. Maybe, you will must create a perform likegetTotalNFTsMintedon your net app to name.
3. Let Individuals See the Assortment
Proper now, our customers need to navigate to the OpenSea Testnet and seek for the gathering utilizing the deployed contract handle. This isn’t precisely user-friendly.
We are able to create a button like “🌊 View Assortment on OpenSea” that hyperlinks on to the gathering web page on OpenSea.
Conclusion

Now, you’ll be able to go forward and share the mission with your pals, and household and have them mint their first NFTs!
That is only the start. There’s loads we are able to do with this mission and NFT tasks normally.
-
Promoting NFTs: There are a number of methods to change the good contract that makes a consumer pay us to mint a transaction, equivalent to including
payableto your contract and utilizingrequireto set a minimal quantity. -
Including Royalties: We are able to additionally add royalties to our good contract that might give a share of each future sale of the NFT to us, as effectively the creators of the NFT assortment.
This weblog is part of the Hashnode Web3 blog, the place a staff of curated writers are bringing out new assets that will help you uncover the universe of web3. Test us out for extra on NFTs, blockchains, and the decentralized future.


